|
|
|
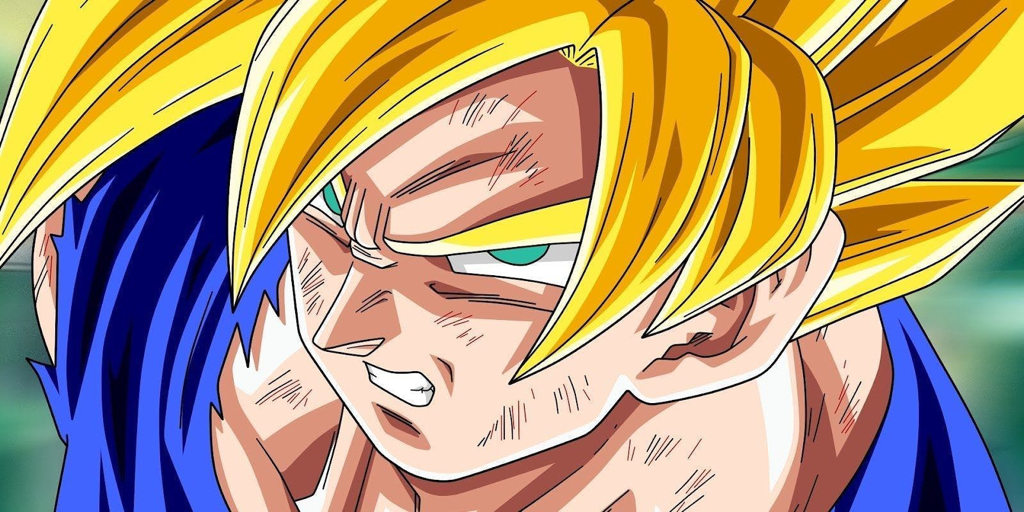
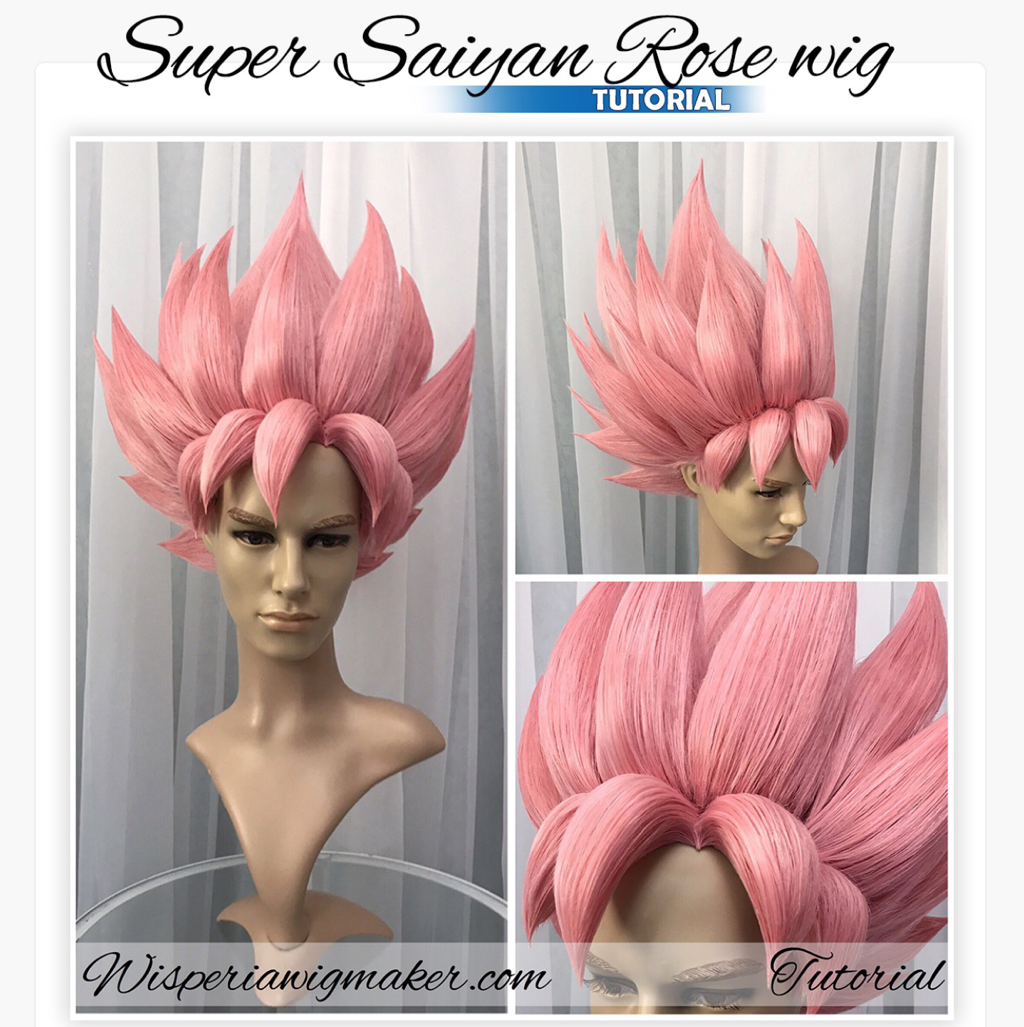
With any project I spent quite a bit of time doing my research. I looked up other cosplayers to see how they constructed their wigs and scoured YouTube for videos. No one really seemed to have a decent toutorial or step by step process. I was able to find a few tutorials that were helpful for spiked wigs, but nothing for Dragonball characters. Finally I came across an amazing wig maker on Instagram by the name of Wisperia Workshop and she offered tutorials on her Etsy shop. I purchased the one she had for a Saiyan wig and was blown away by the sheer amount of work she puts into each piece. The tutorial provided lots of details and tips that I would have never thought of. It was super helpful in getting me started and letting me know which supplies I would need. Once I had this tutorial I figured it would be smooth sailing and I could totally pull this off. Eventually I would come to realize that I was in way over my head on this project.
|
|
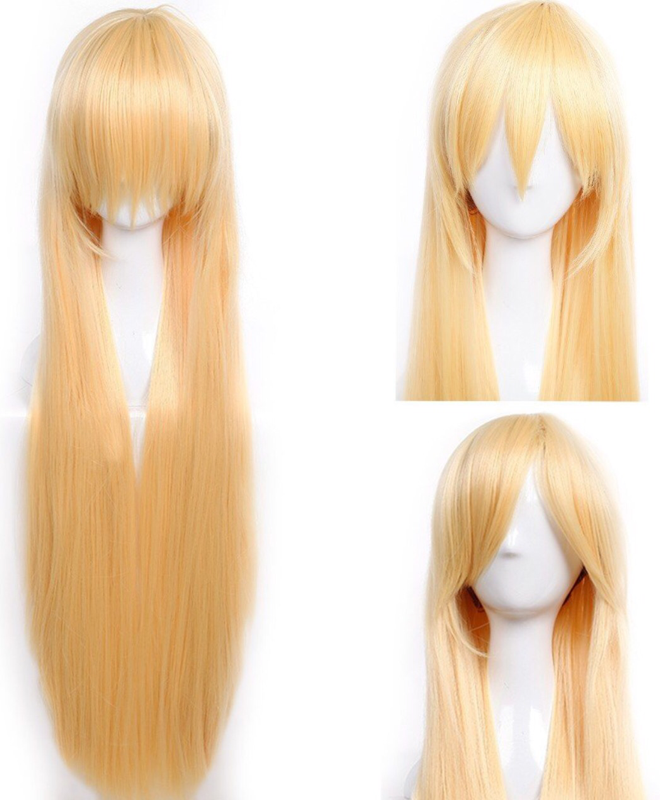
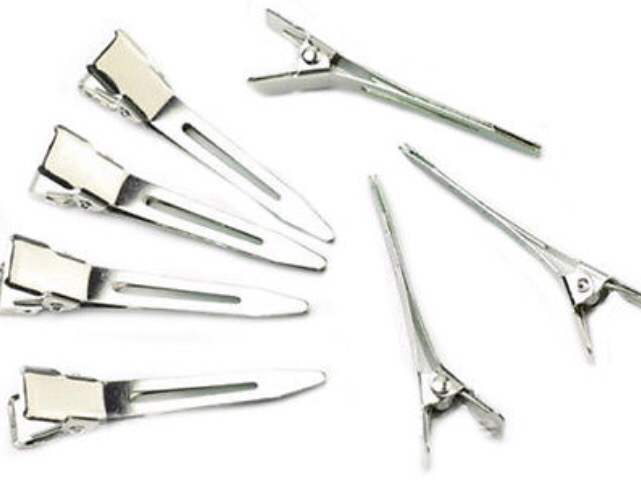
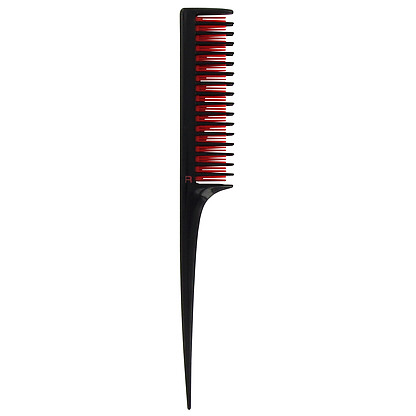
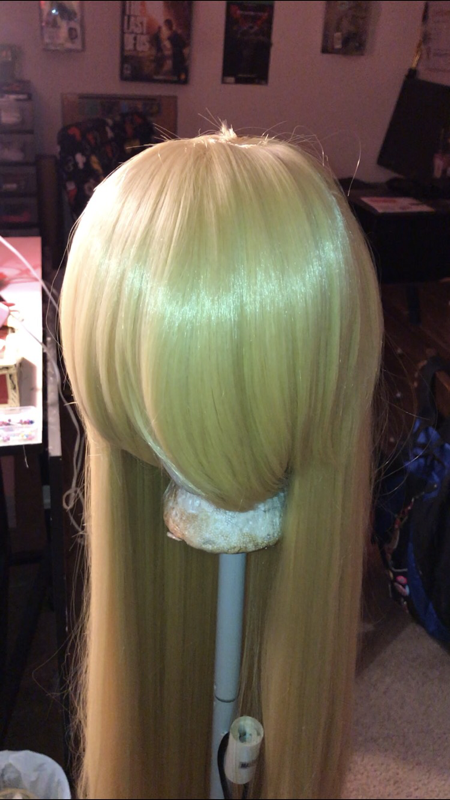
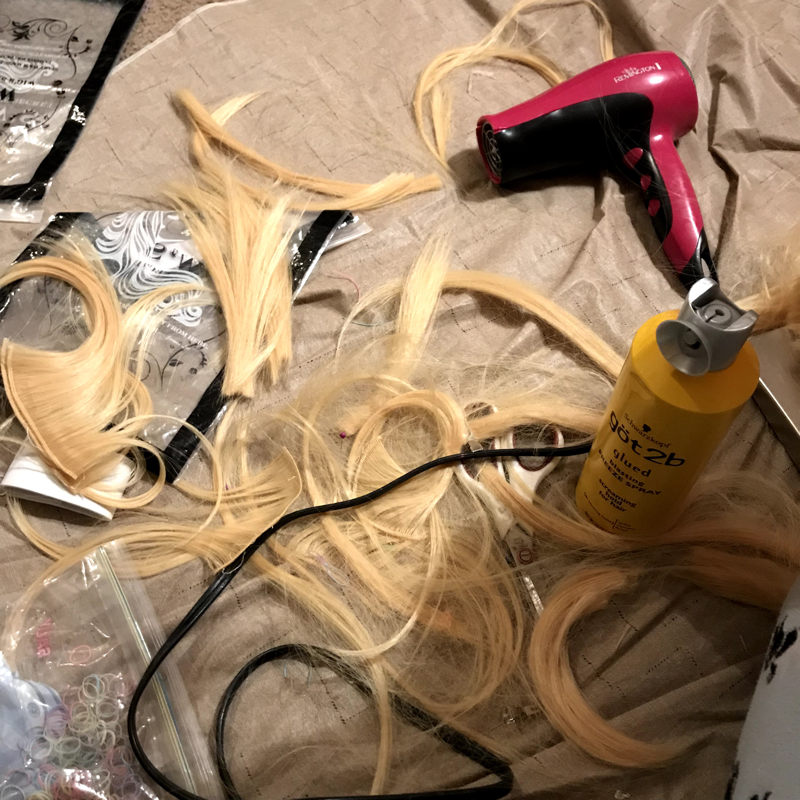
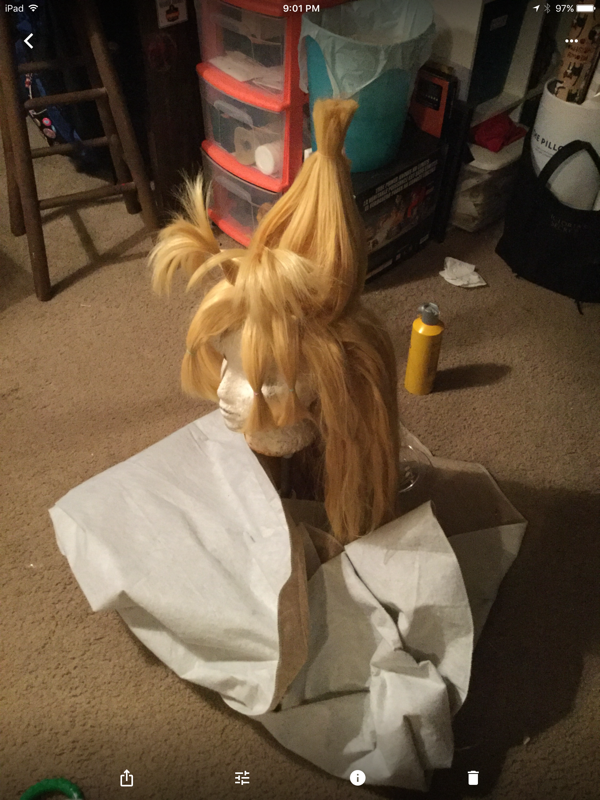
So let's start with the basics - supplies. I purchased four blonde wigs off of Amazon which cost me about $60. It took some shopping around to find a non layered wig with long bangs. The only hair spray that really did the trick is the blasting freeze spray from got2b; trust me, nothing else will work as well. I also got a teasing comb, flat metal hair clips, tiny rubber bands, and scissors.

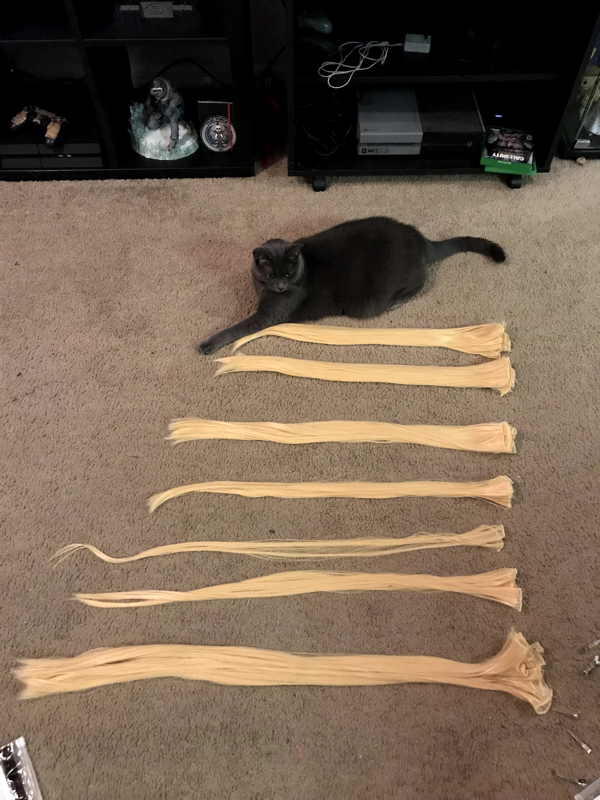
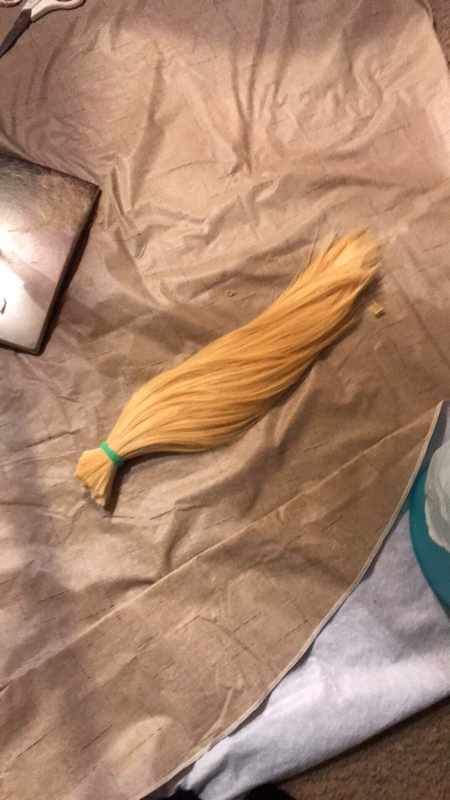
Lets have some video fun! The first video you'll see the wigs in their original form. The length on them was incredible and went well beyond my waist. The tops were a bit thin, but I wasn't too worried about that. My first step was to remove ALL of the wefts from three of the wigs and combine them into the one. The easiest way to do this was with a seam ripper and going one row at a time. I worked on this project on and off so it took quite a while to acompish this. I tried to keep them sorted by length so that I could keep the length consistent.
|
|
|
|
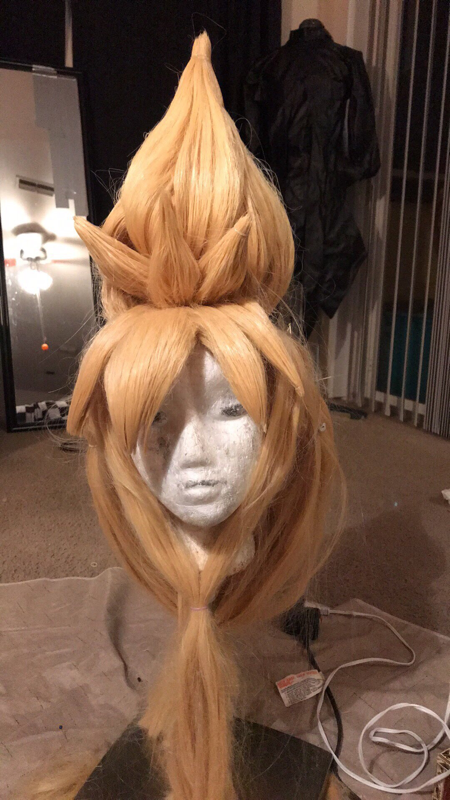
Once all of the wefts had been removed it was time to attach them all to the one wig. At first I started to sew them in and I soon realized this was going to take forever. So, I busted out the trusty glue gun and it worked like a charm. I started at the bottom of the wig and added three wefts to every row. The most annoying part of this process was constantly having the clip and pin the hair up so that I could, get to each row. It was pretty cool to see this wig transform from a wispy thin style to this thick luxurious wig.
|
|
TEASING & CUTTING
This part of the process is what broke me and made me want to give up. Teasing seemed like it would be easy enough, just start at the roots with your comb and work your way up. I tried so many times in so many different ways and I could not get it like the tutorial had showed. It was driving me crazy that I couldn't get it right, I kept trying to get it to look soft and clean and it was a tangled mess. I had to take a step back and think over the entire thing. Eventually I got it to work and I realized I was going to move forward my way. I couldn't get it exactly like the tutorial, but it had gotten me far enough that I was gonna make it on my own steam.


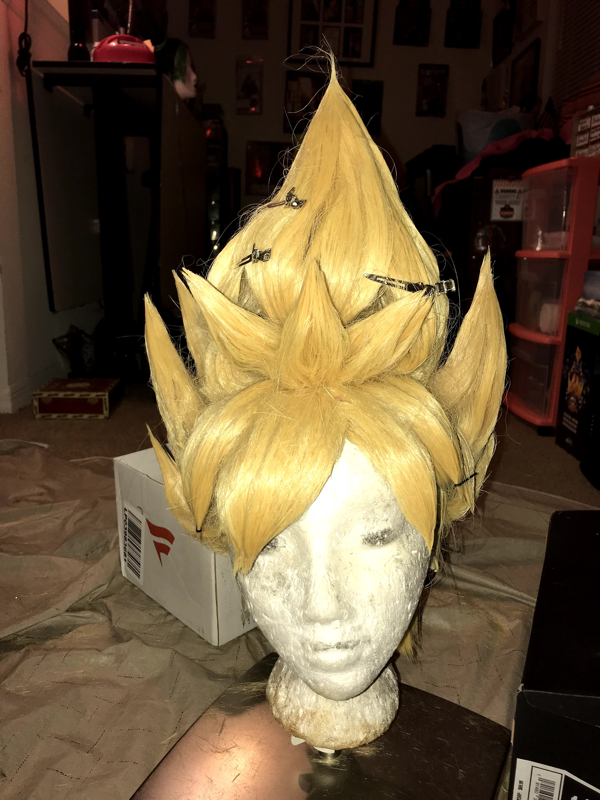
STYLING
|
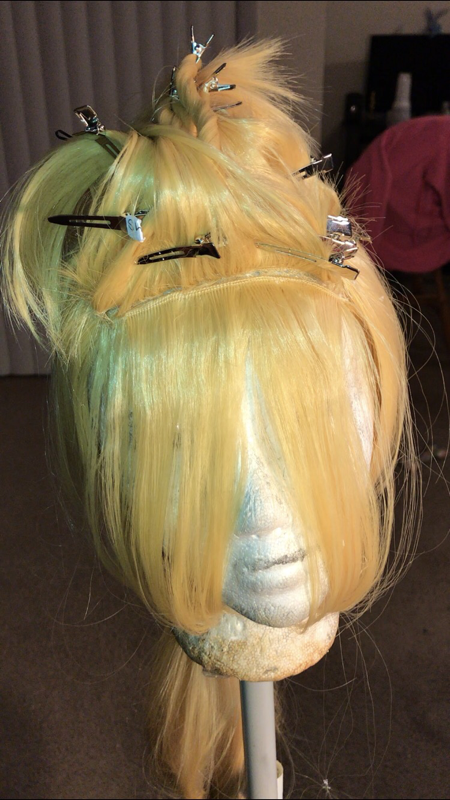
Once I had all of the hair teased I started to section it off into groups for each spike. I would say that I ended up reworking each group at least 3 times before I moved forward. My first mistake was stubbing the center spike way too short. It ended up not having enough length to come up the sides. I was able to fix this by glueing wefts around the center spike. The top and bottom bangs I messed with quite a bit. At one point they were split into 5 spikes each which just didn't look right. Once I got it all grouped together it was a repetitive process of hair spray and blow drying to get each spike set just right. When the spike was standing up I used my scissors to thin out the stumped end into a point. It took a lot of work before this process started to look right to me. I hit a wall one night and was completely unsatisfied with the entire project. I took a step back and made a list of the things I wanted to fix. The next day I came back and tackled it and finally I was happy!
|
|
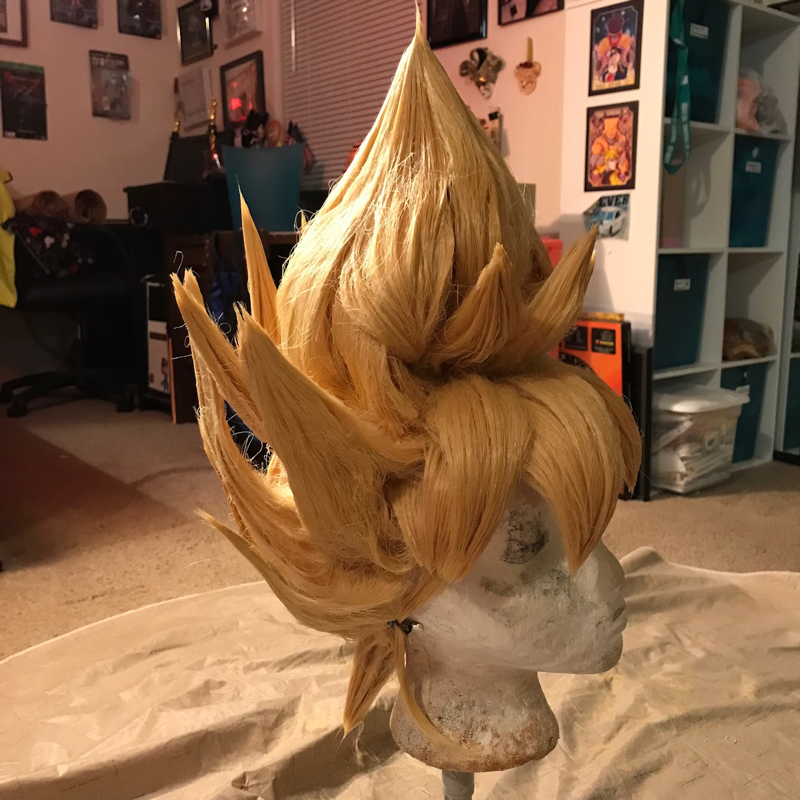

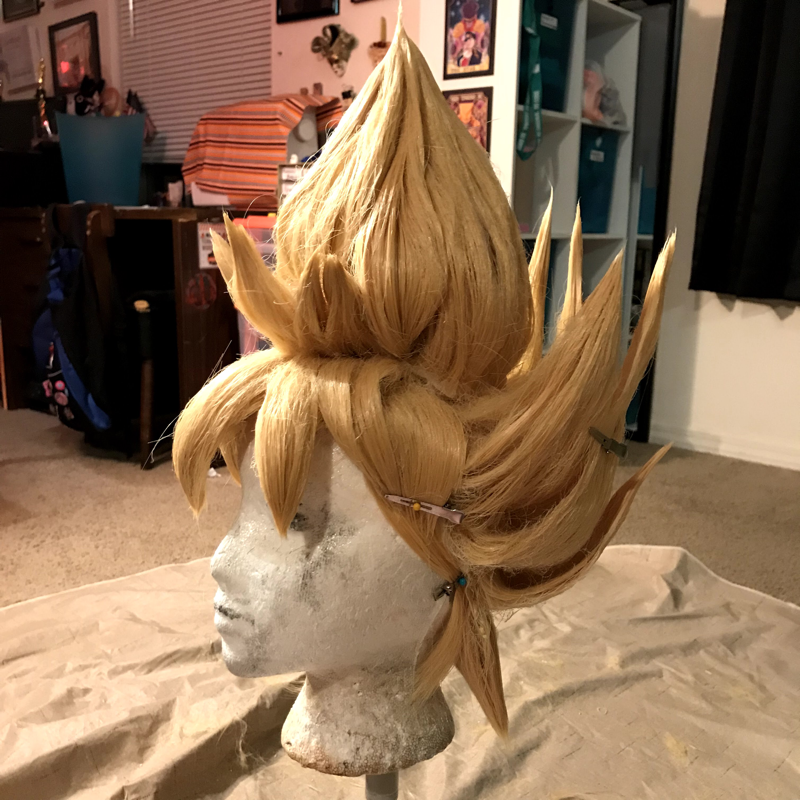
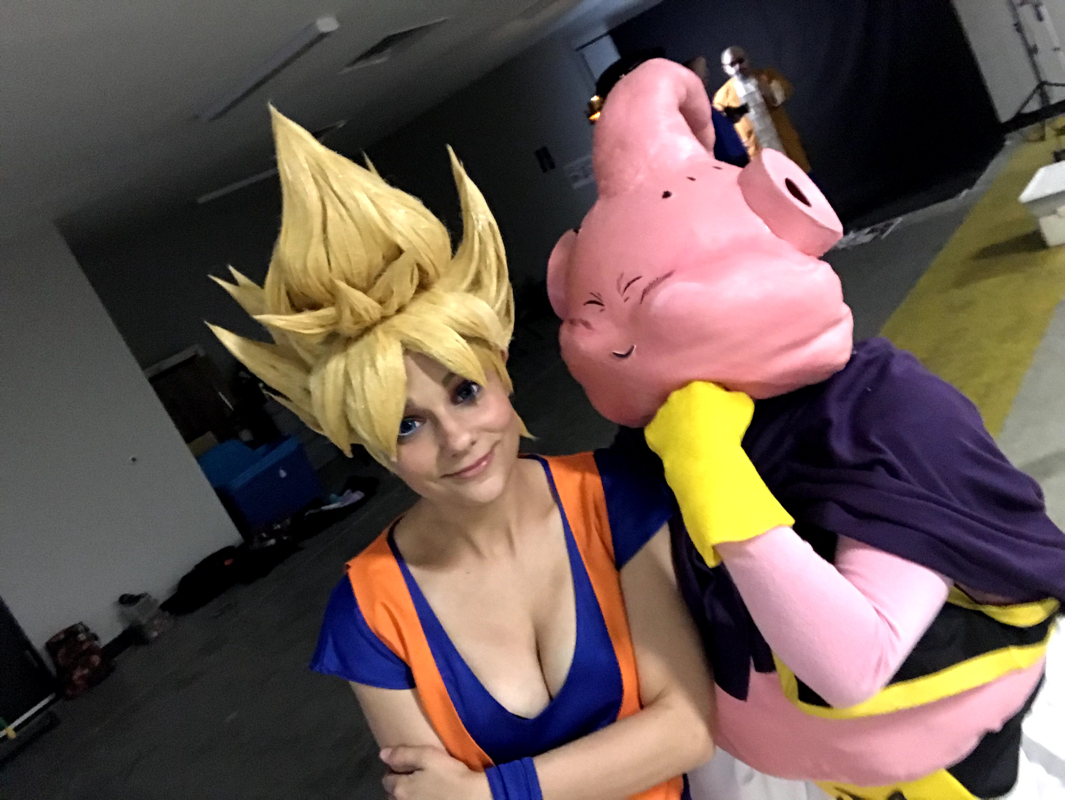
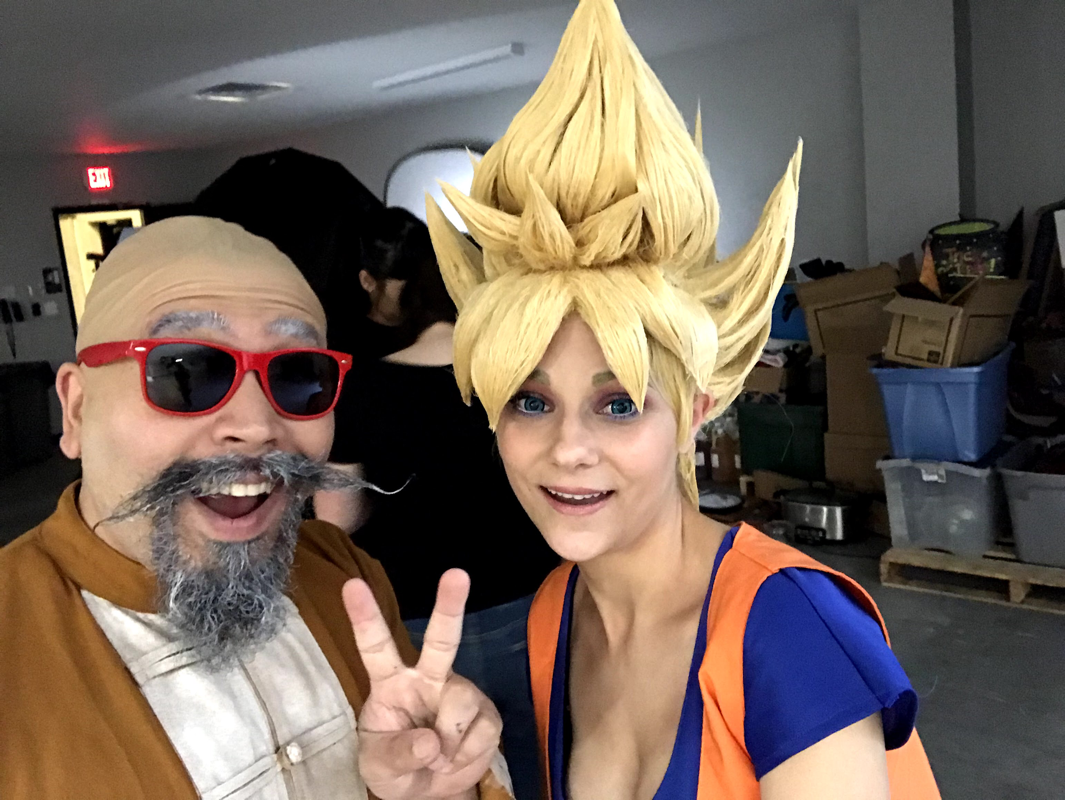
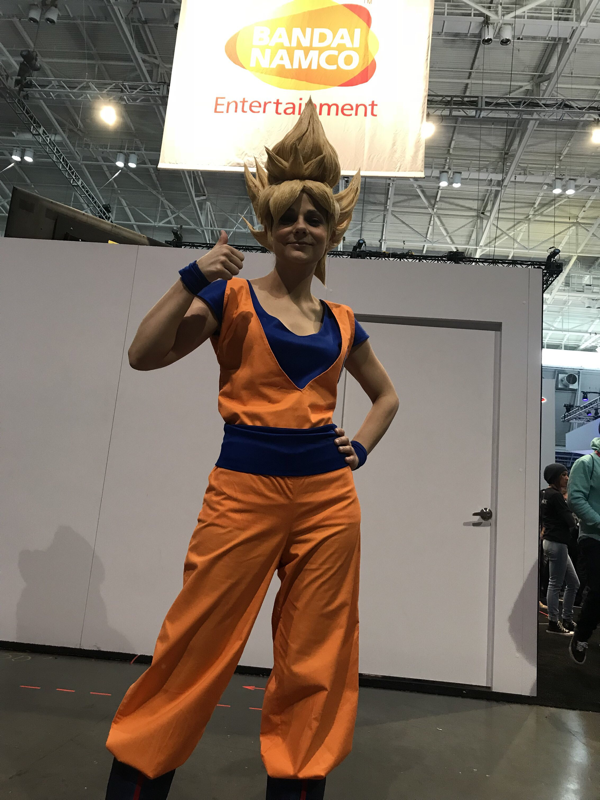
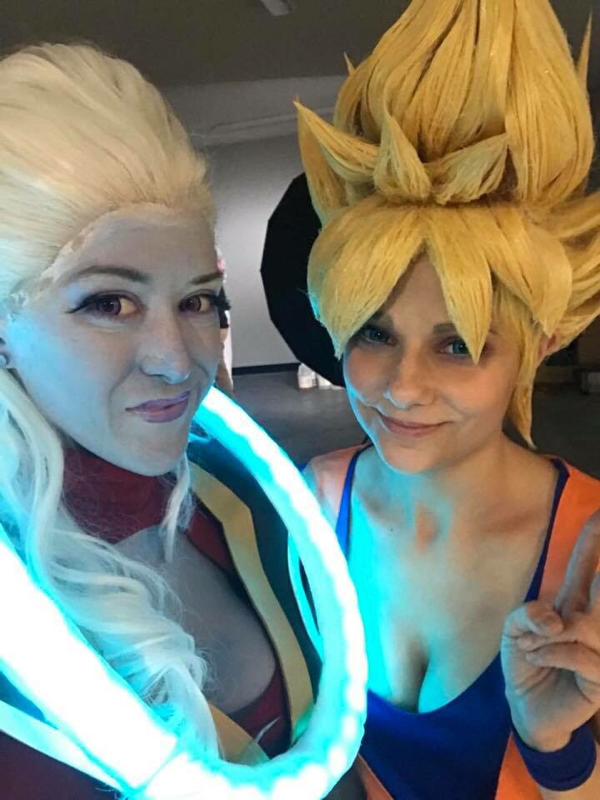
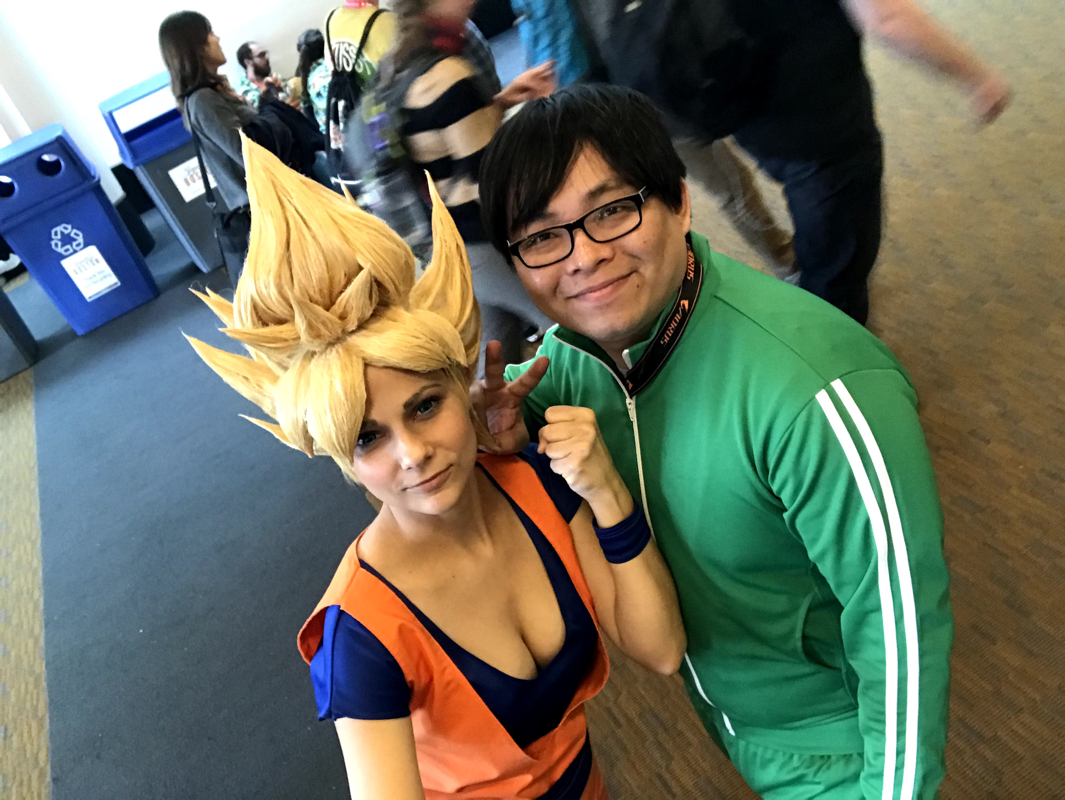
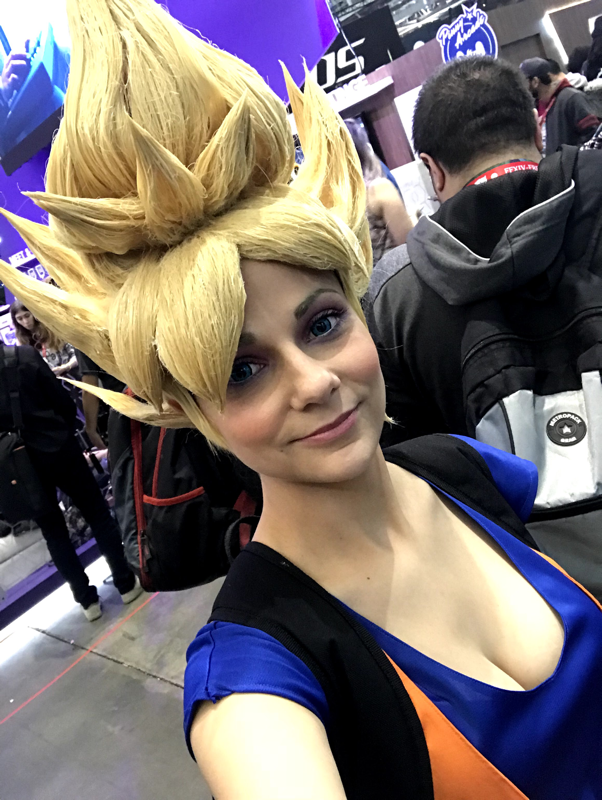
FINAL PRODUCT
The final step was coating each spike in clear craft glue. This helped keep the hairs together and made the wig as solid as a rock. It also gave it a nice shine and made it pretty durable during travel. I added some small wefts on the side by my ear to cover my natural hairline. I use a glue stick to tack it down and it covers pretty well. Surprisingly it's very light weight and easy to wear. It takes a bit to get used to since I feel like I have to balance it on my head.